A new perspective
on Twitch.
Create a visual identity for streams by routing a supported virtual camera into your broadcasting software.
This guide describes the intended virtual camera workflow. A supported desktop release and configured live provider are required. Camera support differs by operating system, app version, and browser; use the preview in Twitch to verify compatibility before joining a call.
A little preparation.
A different presence.
Keep your creative camera setup separate from the moment you go live. Start with a preview and make sure your audience understands the character.
Pair your supported desktop client
Install an available release, sign in on the web, and approve the client's one-time code from the devices page.
Choose a character and start a preview
Use a reference you own or have permission to use. Choose a mode, check your balance, and start when live processing is available.
Add a video capture source in your broadcast app
In your supported streaming software, add a video capture source and choose the virtual camera exposed by your desktop release. Review the scene before starting your stream.
Make the context clear
Tell viewers you are using a synthetic or modified creative appearance. Never use it to impersonate someone or deceive your audience.
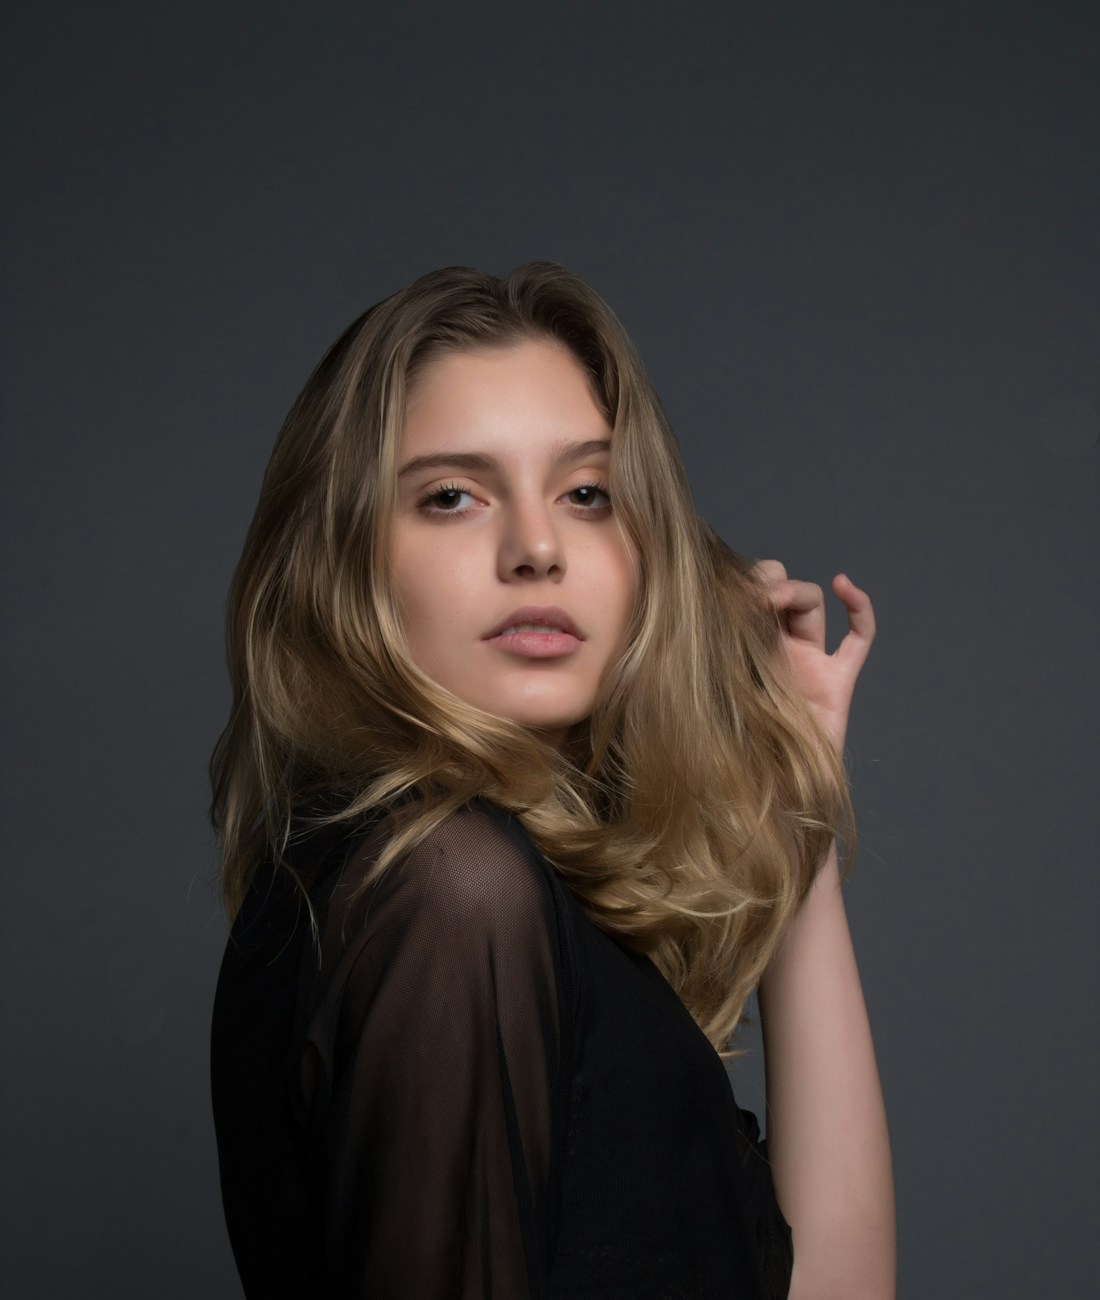 CAMERA SOURCE / EXAMPLE
Illustrative settings preview. The camera name and availability depend on your installed desktop release.
A character that fits
your creative world.
Try a clearly disclosed character for your live streams. Keep your real identity and creative context easy for your audience to understand.
Start with permission
A clear, front-facing reference helps your provider. Use a consented portrait and keep it in your private character library.
Keep the light simple
Face a soft light, position the camera at eye level, and avoid sudden movement while you test a new character.
Preview before you join
Check the output inside your broadcasting software, review your audio separately, and make sure the virtual camera is selected.
Your next character.
Your next conversation.
Start in the web studio and explore a new way to show up, one thoughtful creative session at a time.
Get started